This article explains how to configure SSL and enable automatic certificate renewal for a custom domain on Sakura VPS, using a reverse proxy set up via Docker Compose.
This article continues from and summarizes the following posts, with a focus on automation.
Previous Articles
How to Use Certbot with HTTP-01 Challenge in Docker Container (Preparing for Zero-Downtime Renewal)
From HTTP-01 Challenge to HTTPS Access with Docker Compose Reverse Proxy
① DNS Settings for Custom Domain
Point the name servers of your acquired domain to those used by Sakura.
https://help.sakura.ad.jp/domain/2302/
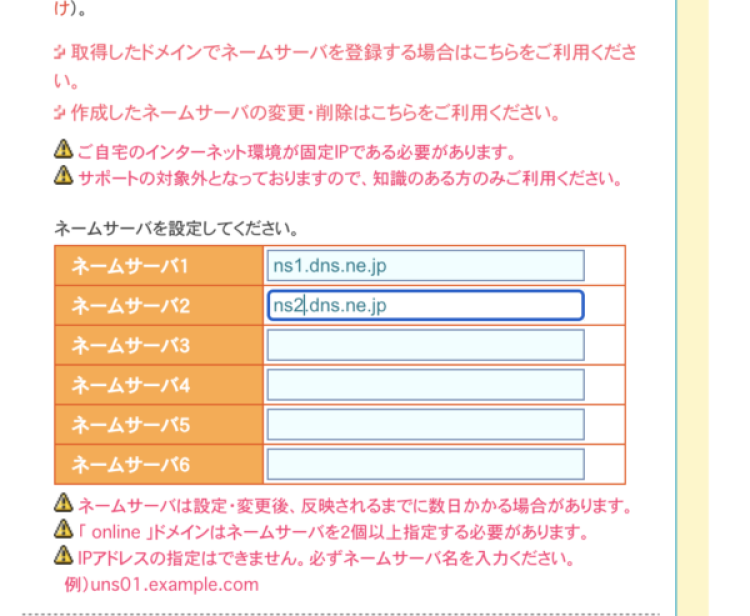
Sakura DNS Settings
Go to the Domain Control Center from Sakura’s member menu.
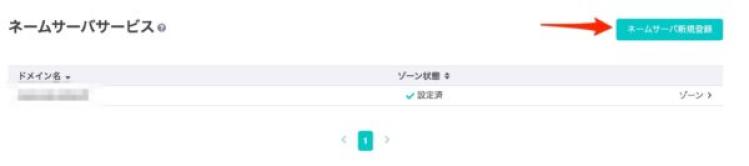
Click on "Register New Name Server" under Name Server Service.
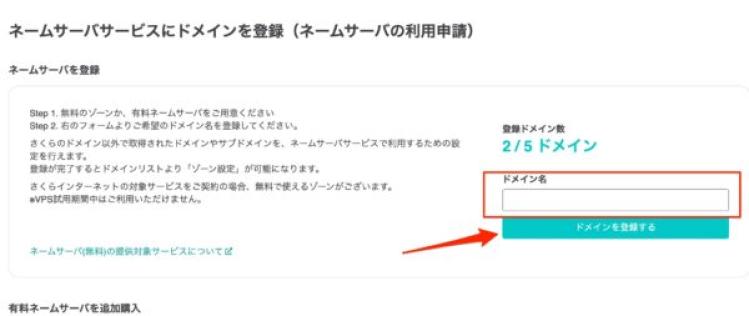
Enter the domain name to be registered.
For subdomains, enter the subdomain.
Once added, click "Zone" on the right of the corresponding domain.
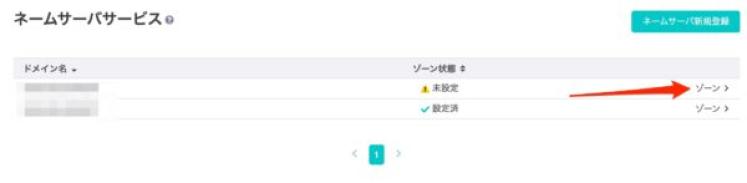
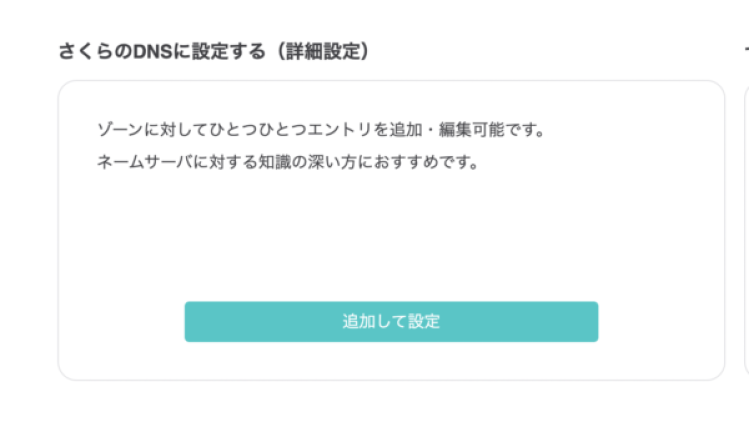
To edit DNS records, click "Add and Configure" under "Configure for Sakura DNS (Advanced Settings)".
Add an A record.
Enter the domain (or subdomain) as the entry name.
Use the IP address from your Sakura VPS server list.
Click "Add" after filling in.
Once added, click "Save" to complete.
② Enable HTTP Access
Edit the nginx config file for the reverse proxy.
Assign your domain to server_name and specify the internal resource in the proxy path.
server {
    listen 80;
    server_name example.com;
    location / {
         proxy_pass http://webapp01-web-1/;
         proxy_redirect off;
    }
}
Since the Docker Compose structure is the same as previous articles, refer to:
https://it.hasethblog.com/ja/archive/267
After editing the config, restart the nginx service to apply changes.
If the expected page appears via HTTP, it's working.
③ Issue and Verify Certificates
Install Certbot and issue certificates via HTTP-01 challenge:
https://it.hasethblog.com/ja/archive/267
sudo certbot certonly --webroot -w /home/docker/reverse-proxy/certbot/www -d example.comMove issued certificates and symbolic links to the host bind-mount directories.
Adjust permissions and edit the renewal config as needed.
Details: https://it.hasethblog.com/ja/archive/286
To manually trigger a renewal test:
sudo certbot renew --cert-name example.comUse --force-renewal to force the process.
If successful, the custom path will reflect the changes.
④ Enable HTTPS Access
Update the nginx config file in the reverse proxy for HTTPS.
Use the internal container paths for certificate files.
server {
    listen 80;
    server_name example.com;
    location /.well-known/acme-challenge/ {
        root /var/www/certbot;
    }
    location / {
        return 301 https://$host$request_uri;
    }
}
server {
    listen 443 ssl;
    server_name example.com;
    ssl_certificate /etc/letsencrypt/live/example.com/fullchain.pem;
    ssl_certificate_key /etc/letsencrypt/live/example.com/privkey.pem;

    location / {
        proxy_pass http://webapp02-web-1/;
        proxy_redirect off;
    }
}
Accessing https://example.com should now work properly.
HTTP requests will redirect to HTTPS with a 301 status.
⑤ Setup Automatic Renewal
Let's Encrypt certificates expire every 90 days.
To avoid manual renewals, configure automation.
Add the following service to your docker-compose.yml, preferably under the reverse proxy section.
certbot:
  image: certbot/certbot
  volumes:
    - ./certbot/conf/live:/etc/letsencrypt/live
    - ./certbot/www:/var/www/certbot
    - ./certbot/conf/archive:/etc/letsencrypt/archive
  entrypoint: "/bin/sh -c 'trap exit TERM; while :; do certbot renew --webroot -w /var/www/certbot; sleep 12h & wait $${!}; done;'"
  networks:
    - reverse-proxy-network
  restart: always
Mount live, archive, and challenge directories like the reverse proxy.
The script attempts renewal every 12 hours.
It will only proceed once the certificate is within 30 days of expiry.
Related Articles
How to Use Certbot with HTTP-01 Challenge in Docker Container (Preparing for Zero-Downtime Renewal)
From HTTP-01 Challenge to HTTPS Access with Docker Compose Reverse Proxy