
はじめに
趣味でBlenderを触っていますが、
フリーソフトとはいっても専門知識のいる領域です。
入門者なら分かると思いますが、
作成したオブジェクトに色をつけるのですら苦労します。
Web上に手順が載っているサイトが数多くありますが、
ショートカットベースであったり、バージョンの違いから設定できず、
結局自力で”頑張る”しかないです。
今回は、簡単に作成したオブジェクトに色をつける方法をご紹介します。
オブジェクトに複雑な操作なく、テクスチャーペイントする方法
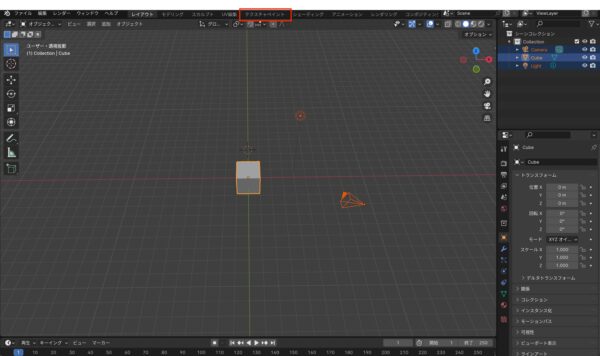
①上部タブより、「テクスチャーペイント」に切り替える。
まず、オブジェクトモードで適当にオブジェクトを配置します。
次に、上部タブより「テクスチャーペイント」に切り替えます。
②新規画像を作成する。
「テクスチャーペイント」
に切り替えると、左側に「画像エディター」が表示されます。
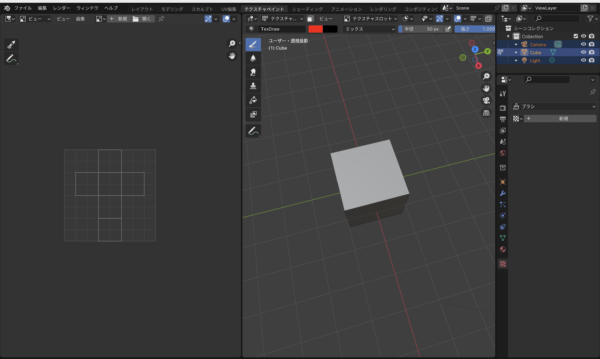
※「画像エディター」が表示されない場合は、左上にある
モード切り替えのボタンより、「画像エディター」を選択してください。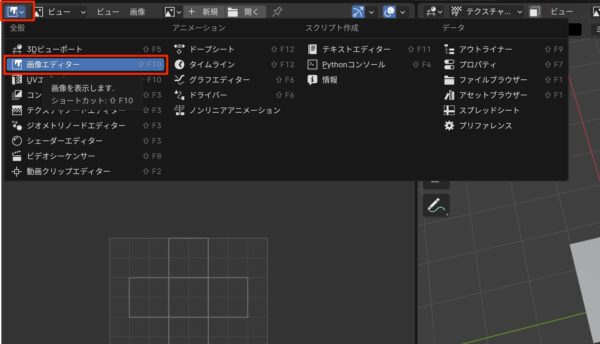
モード切り替えのボタンより、「画像エディター」を選択してください。
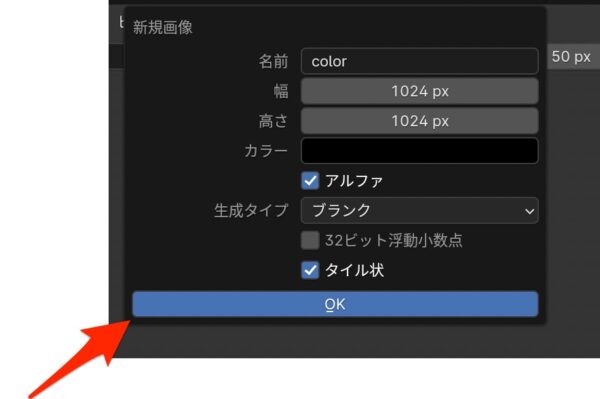
画像エディターの上部にある「新規」ボタンをクリックします。
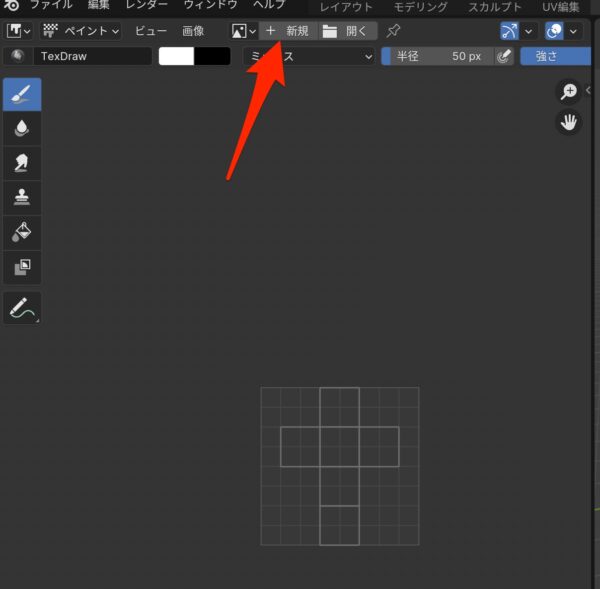
名前を任意で設定し、「OK」をクリックします。
新規画像を作成すると、画像エディターが作成した画像の編集画面に切り替わり、
編集画面が真っ黒になります。
③ペイントモードに切り替える。
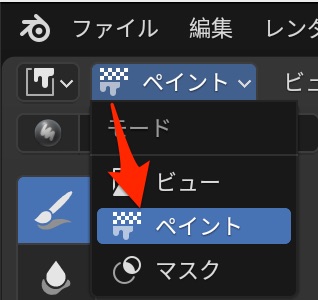
次に、画像エディター画面の左上にあるモード切り替えボタンをクリックして、
「ペイント」を選択します。
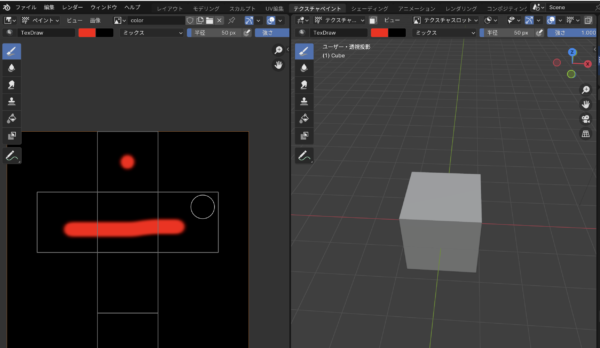
③ペイントする
「〜②」により、ペイントができるようになります。
この状態では、画像エディターで編集した画像と実際のオブジェクトは紐づいていないため、
次に紐づけるための作業を行います。
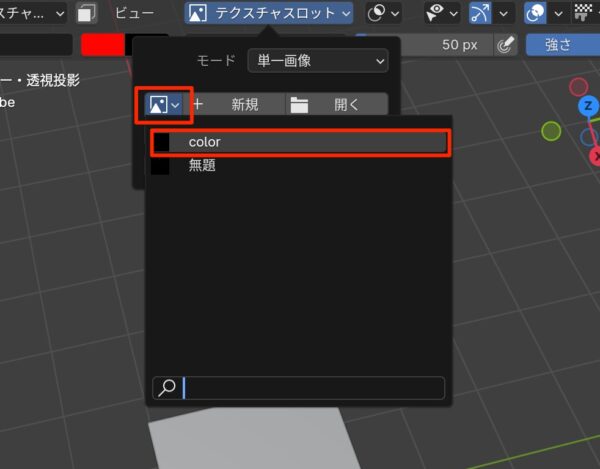
④テクスチャースロットで作成した画像を選択する。
右側の画面(テクスチャペイント)の上部にあるテクスチャースロットをクリックして、
モードを「単一画像」に切り替えます。
画像選択ボタンより、先ほど作成した画像を選択します。
私は、「color」と命名して作成しました。
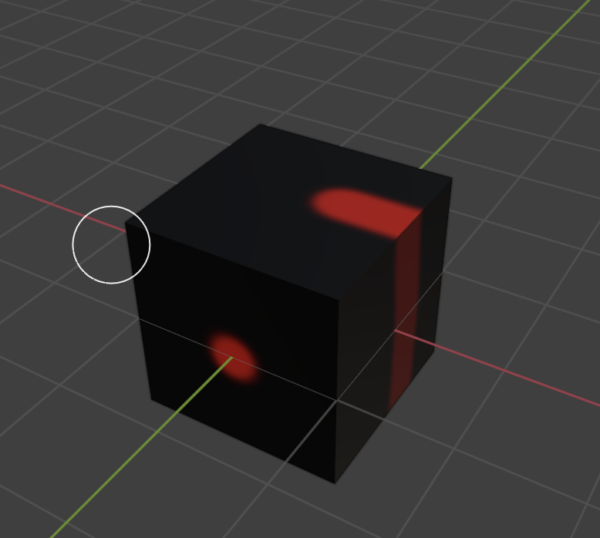
⑤反映される。
これで、実際のオブジェクトにもペイントが反映されます。


コメント